
To everything there is a season. This year, it’s hiking season.
I know I’m not that young. I’m not sure that I’m able. I will only know for sure when I try. Some things that are worth it take some effort. I’m going to give this one a bit.
I know I’m not that young. I’m not sure that I’m able. I will only know for sure when I try. Some things that are worth it take some effort. I’m going to give this one a bit.
After 2193.1 miles of walking and ~150 hammock nights, maybe my setup isn’t terrible. I found it to be comfortable, warm, and serviceable with features I liked.
If you want to know more, I suggest you start here. although I advocate buying off something like “thriftbooks”… certainly your favorite local seller can get the book for you.
definition: larkshead: aka cowhitch. See this article on wikipedia. Easy, fast, strong. If you have a loop, you can make larksheads to hold onto a larger pole/tree/something by passing the tag through the loop.
Materials used:
Key features:
Specific parts:
Setup:
Here’s a full and detailed view of one half of my suspension. It is basically a tree strap attached to a whoopie sling. I have one of this combination for both ends of my hammock.

The tree strap has a loop at either end. One end is larkshead’ed to the whoopie sling’s stationary loop end.
To mount the suspension to the tree, I basically larkshead the suspension to the tree. Imagine if the pencil was a tree trunk, I’d loop the suspension around the tree thusly:

… and keep pulling it through until the loop in the treestrap closes on the tree. The truth of it is I might make 2 wraps around a smaller tree before going through the loop… after about 10 times setting up you’ll know what to do. It’s hard to explain but isn’t hard to figure out.
Here is the Dutchware gear whoopie hook. Works great. Doesn’t rust. 😀

Here’s the part of the whoopie sling where the line runs through the choke point. 150+/- setups later, it shows a little wear, but honestly it’s in serviceable condition for it’s use.

Hopping to the hammock, it has a lot going on at the gathers. Here is one gather end. I added the pencil for scale. As this takes all the stress in exactly the same point every time, it shows some stress on where the continuous loop is grabbed by the whoopie hook. After 2000 miles not bad wear.

To see it all, I needed to peel back the bug netting to see all the details.

The big red gather line is 7/64″ amsteel line and is where a continuous loop is larkshead connected to the gather of the hammock. The yellow line is the hammock’s ridge line. It’s a zing it dog-bone (a line with a 3″ +/- loop spliced into the end. You can see the splice in this image) which is larkshead connected outboard of the hammock gather on the outside of the amsteel continuous loop.
The bug net just pulls past the gather and hooks into the red loop.
Note: once set up I have a carbiner I used to hook my (nearly empty) pack onto the red loop. It serves 2 purposes: 1- (duh) it keeps my pack covered from the elements, and 2- If water tried to walk down the line (and onto my hammock!) it would instead follow down the carbiner to my pack (which won’t make me cold and wet at night). The amsteel is plenty strong. It does change the hang of the hammock slightly depending on how heavy my pack is.
Enough side chat; let’s finish getting my hammock hung!
My hammock is stored/carried in a 2-ended stuff sack, the yellow end is my “foot” end, and the red loop is my “head” end. Here you can see the light carbiner I use to hold my pack onto the suspension once it’s all set up.

With my tree straps firmly in place on both ends, I take my hammock to one end. hook the continuous loop into the whoopie hook, then allow it to unpack as I walk to the other tree, pick up the dropped hook, and hook the other loop. While keeping the hammock off the ground, I tighten approximately 1/2 the slack up using the whoopie sling in hand. Keeping the hammock off the ground, I walk back to the first end and take up the remaining slack.
At this point you’re mostly done!
Here’s a fairly common condition:

socks and pants hanging to dry out. My feet could be a little to the left to level out, but I was probably trying to elevate my feet to help them recover faster. (yep, move 12 inches toward the center means you get elevated feet)…
My advice, learn to splice the dyneema and make your whoopie slings. There are many vids out there on yt to help you. In the end, this worked great for me. When I needed to “go to ground” (4 time total) I at least had a CCF pad. Some folks prefer under-quilts and suffering on those few days.
Extended the day and took an extra pass to make day 4 easier Very windy camp site
Very tired
15 mi
2.5. Up
Last night we rolled into camp at sunset. I was pretty beat. We dropped off Anderson pass and just found the first flat spot near water.The wind was crazy most of the night as we were above treeline.
I’m trying out an ultralight tent using my hammock tarp as a rain fly.
It doesn’t fit perfect so it was super noisy most of the night.
Cold camp because we were all bushed.
10 miles until camp tonight. We were here by 1:30 so we had 2 dinners today to make up for yesterday’s cold camp.
I got a nap in, washed the salt off and rinsed out some clothes.
All in all a good day.
10 miles, 2.5k up
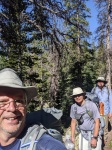
Pics include pi napping on a rock and my ugly mug.

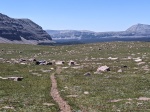
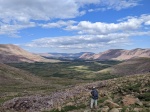
Settled in to a decent stride today.Monster views
Good weather at least until we arrived at camp.
Short rain shower
Dead horse lake!
12 mi 2.5k feet up and down


Today’s plan included 2 passes not fit for livestock. It would tee us up for exit tomorrow.
The first pass was sketchy up but all successful! We were the first up the pass after rain the night before so no real prints before us.
I added an image with my finger pointing out the pass on the wall.
Anyway, we got over the summit and I headed down a little early. It turns out that it goes better if you do NOT follow the dall sheep path on the downside. A short booty scoot down some scree and I was back on trail.
So we boogied down trail, took a wrong turn that added a mile and we’re thinking about the last pass. About that time we heard a rumble. A little cold temp and a little wind and a dark cloud said it was time for cover!
I snagged my tarp and put it up real quick!
Bill put up his tent and I ripped a hole in the fabric of time trying to go faster looking for two trees with no underbrush to throw up the tarp.
It just started the raining as Scott and I were getting the tarp Ridgeline up.
I rushed to secure the last line just as the marble sized hail started to fall.
It was a typical mountain blast. An hour later we were on our way and we got to camp with only a few rain bursts.

I struggled physically today. Tbh I’m not sure it’s not lingering covid effects. Or I could’ve getting older. The climbs are tough. It could be Altitude too. Maybe all of the above. We’re going between 10.and 12 k feet
14 miles 2k up and down today
I saw a 10 pound buck in the woods…and some awesome views.
Scott saw a moose and it’s calf!
Decided to backpack a not crazy long trail this summer.
Stretch the trail legs
See how it goes!
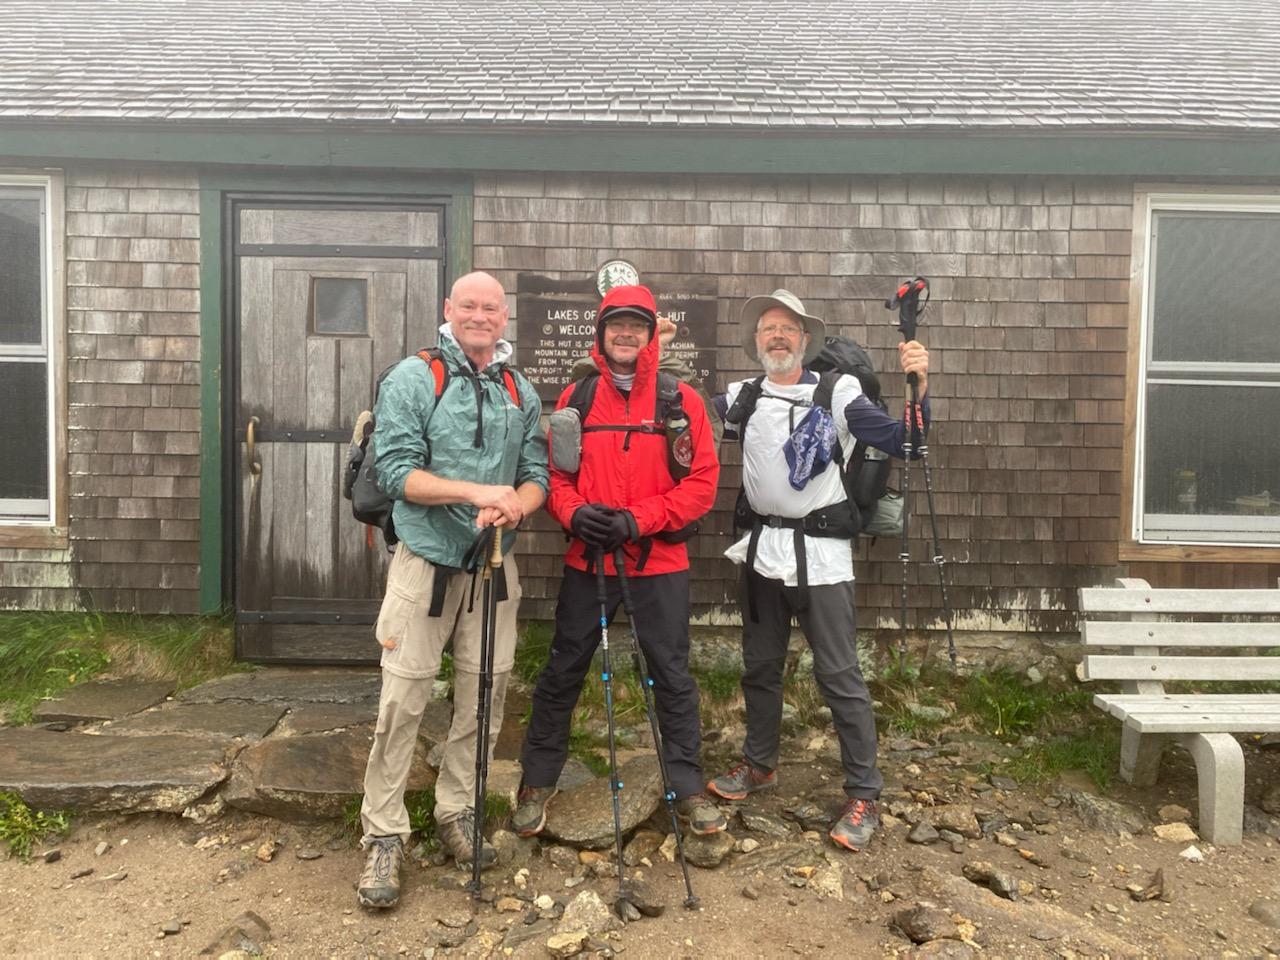
Hiking with IRL friends Pi and Grandpa. Pi is AT ’06. Grandpa is the youngster.
We are hiking east to west.
Drive up yesterday, heavy dew at our trailhead.
Wind was wacky strong most of the day.
A couple of young dudes came by us late in the day.
Sparky ’21 NOBO and muggle ’19 Flip-flopped!Had a good time swapping trail stories.
11 miles, 2k up
2,193.1 miles
28 different clubs doing maintenance
14 states
5 months and 5 days
26.1 miles on longest day
7,000 feet ascent on highest ascent day (over 21+ miles)
6 days for longest span without resupply / shower / wash clothes (3 times I think?)
8 days for longest span of hiking all day every day
135 miles was the most in 7 consecutive days
3 airline flights
6 bear encounters, one time chewed/clawed on my food bag
2 copperheads
1 rattlesnake
2 northern water snakes
5 black snakes
6 flocks of turkeys
1 bob white quail (whistled up!)
6 pairs of shoes
4 pairs of shorts/pants
2 park rangers met
2 tramilies
5 pairs of socks (finished with 3)
2 sets of hiking poles
many deer
many ruffled grouse
many garter snakes
many red spotted newts
1 brood of juvenile hooded mergansers
17 pound pack with no food/water
3 jambalaya nights
2 spaghetti nights
1 steak night
3 fuel cans (small iso-butane cans)… probably could have been 2 but I flew
5 hornet/wasp/yellow-jacket stings
1 stressed ankle
1 bug net repair
15.5 miles on hardest day
one aluminum ladder
many rebar ladders
some steel bar hand/foot holds
2 places I saw where water bottles collected (Katahdin, Mahoosuc Notch)
1 set of aluminum stairs
1 spruce grouse
No caffeine
Heaviest pack approx 40 pounds
7 day hikers yogied into helping with a mileage display
4 wild ponies
1 couple from my home town
1 fellow substantially injured on trail
1 close call for injury
Blazing is in reference to the blazes along the Appalachian trail. The normal markings along the trail are called blazes. They are 2″ wide and 6″ tall. Generally they are on trees but often are found on rocks, posts, etc. There are other styles of blazes which I thought my ght be interesting to refer too. I shamefully stole the following image as I couldn’t find a good sample of my own!

White blazing
This is the normal hiking of the trail. You go from white blaze to white blaze. “Purists” are at least white blazers.
Yellow blazing
Takin a ride on the road to avoid some part of the trail.
Blue blazing
There are some alternate paths on the AT. Some blue blazed paths lead to water sources. Some lead to shelter or towns. Others are alternate paths such as “bad weather alternate path”.
Web blazing
This is done first thing in the morning. It’s not related to “going off course”, it’s about the early morning first poor soul who clears the spider webs for the later hikers.
Green blazing
Green blazing refers to activity around weed use on the trail. Sometimes it’s to a supply, sometimes to a place to smoke. I don’t partake so I’m not a pro.
Aqua blazing
There are a few places on the trail where you can take a canoe/raft/tube ride down a river to advance down the trail.
Pink blazing
Chasin’ the ladies on the trail.
Well, so you’ve walked a bit, exhausted your feet, burned off ludicrous amounts of body fat and eaten everything in sight for 5 months. Now what?
Hiking a solo hike is a pretty selfish adventure. For 5 months I’ve only really had “me” to deal with. My concerns were immediate and tactical. I call it getting “dog brain”. Sure I had some planning but it was mostly related to only a few days of needs. What should I eat right now, where is water, where am I sleeping tonight, how am I going to get dry? …
Also, can I get back into the world without just gaining back all the weight I lost? What about the mental chill space I’ve found? Can I keep that for a while too?
What about the well documented (on the internet) off trail depression, transition, societal pressure things? These I’m less worried about for me personally. A lot of the folks hiking the AT were in some kind of transition…relationship, job, school, covid, etc. Really I didn’t face those. If those were there before, they are still around. I also had a coach warning me to lookout for it.
I did come home to a slew of chores but nothing earth shattering. Dog brain step aside; adulting may be required.
First some grooming!


Then some human food!

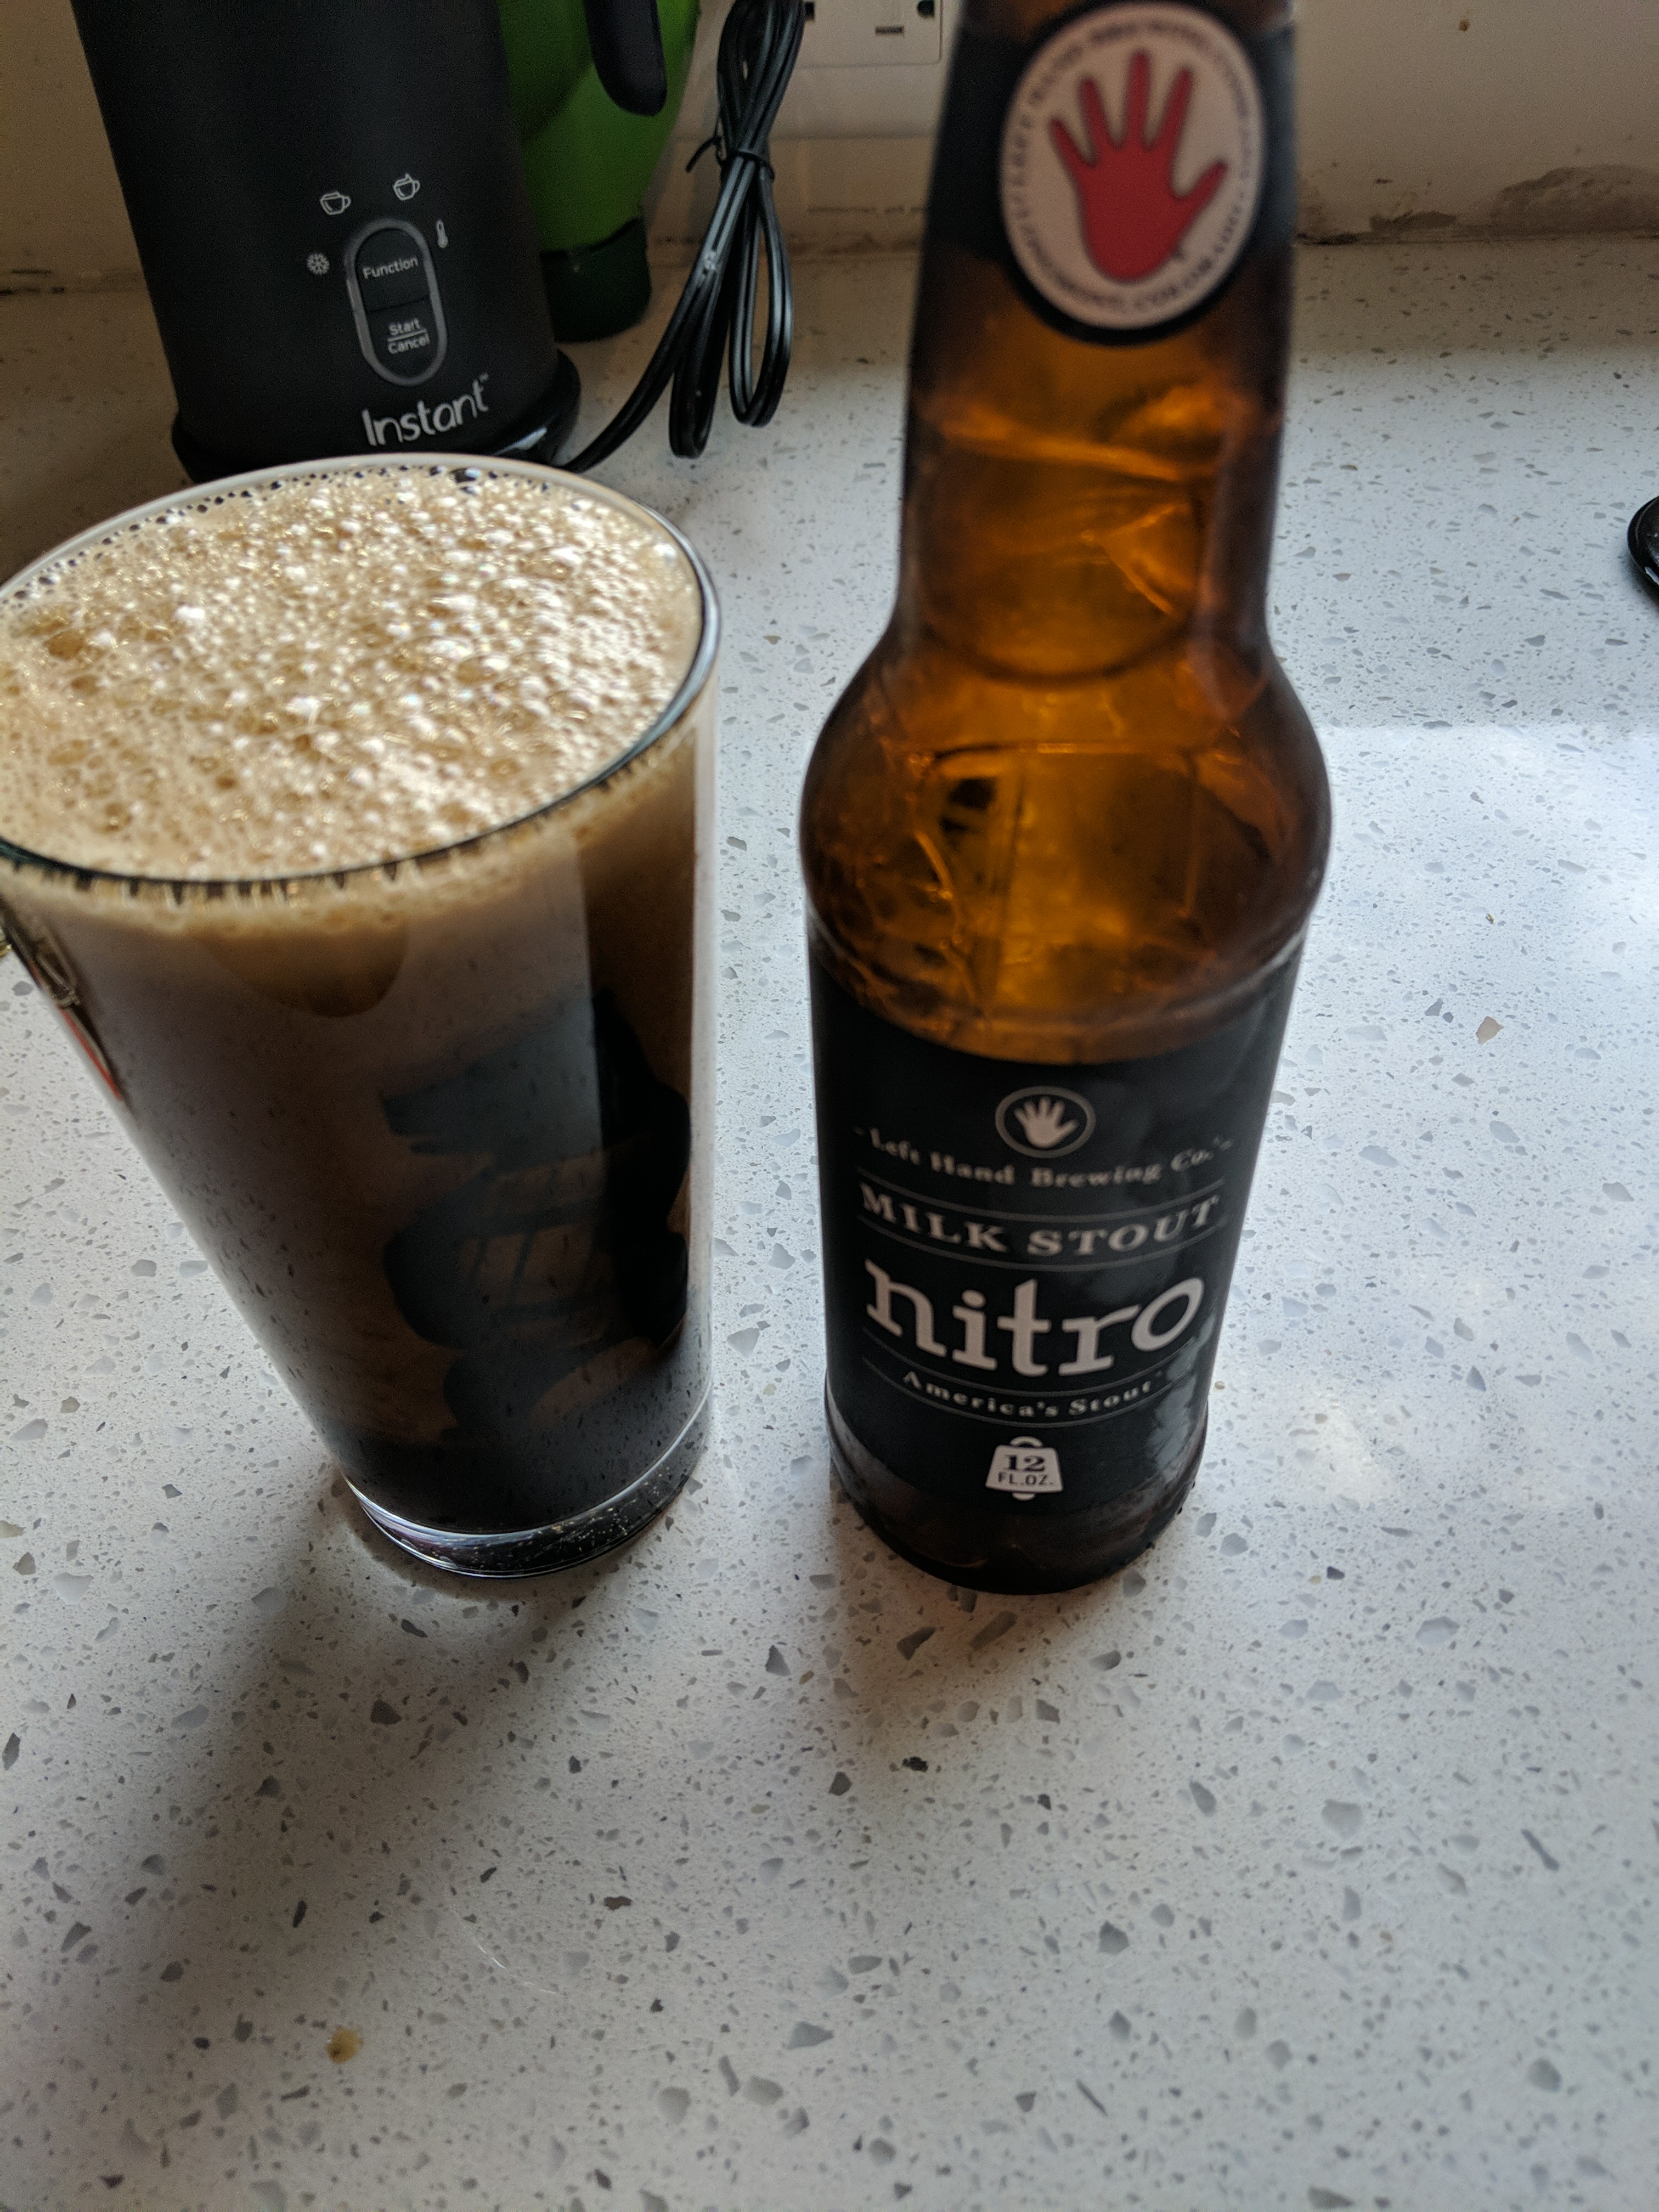
I’ve taken a few days to indulge all the things that the trail couldn’t easily provide. GOOD beers, real home-made dinners, soft cotton things, regular coffee, streamed music, …
I took a week or so off between hiking and getting back to work. These first few days have definitely been a bit of an adjustment. Getting my sleep schedule back in a regular “work” routine, cleaning all the gear, reacquainting myself with living with someone else (my wonderful wife!), getting past the “dog brain”, don’t just eat everything in the fridge because it’s there…
I chose not to have a big web presence while hiking. My wife was here alone and I didn’t really want the internet to be aware. Now that I’m back, I’m ok with folks learning what I’ve been up to. All the sudden the internet is boiling in questions and congratulations!
I also need to get my other hobbies up and going again to keep my sanity for as long as possible. I do blog my garage / off-roading exploits here: https://wrenchingseason.wordpress.com/
I’ve ordered the obligatory post cards, and am preparing all the things to mail. I’ve set up a doctor visit and dentist visit. One I expect to go ok, the other not as good because oral hygiene on the trail is… challenging.
I did get a glimpse into retirement. I hiked with several retirees. I can see better what the light at the end of the tunnel looks like. Seems pretty good! I do need to plan for it but stave off the retirement vortex a bit longer.
Hmm time to blow out the sprinkler system. Winter waits for no one.
